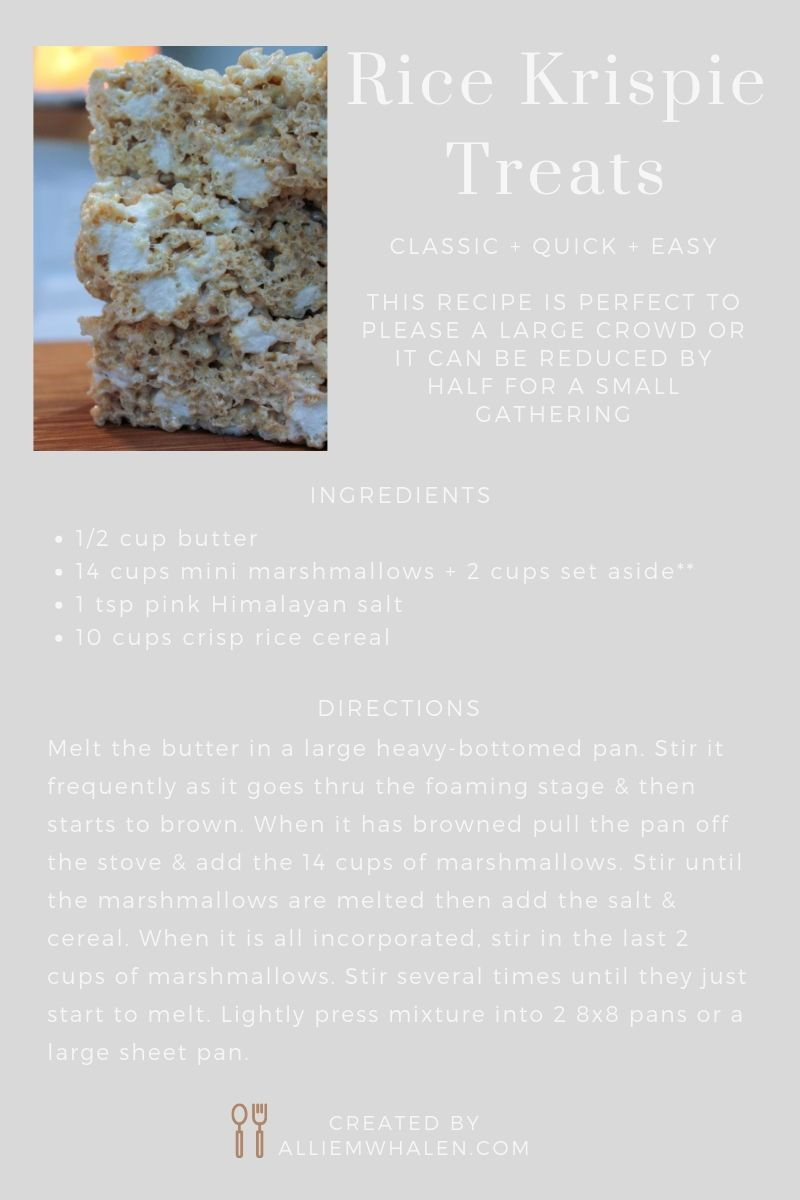
Salted Brown Butter Rice Krispie Treats
- Allie
- Jun 22, 2019
- 2 min read


Alright guys, this is going to be a deviation from my healthy recipes. Because sometimes you just have to make a crowd pleaser. And trust me, this is a crowd pleaser! You will get comments ranging from "It's like biting into a cloud!" to "I could eat the whole pan!" This recipe makes enough to keep everyone happy at a cookout or you can reduce the ingredients by half for a smaller gathering. Just in case you've never made Rice Krispie Treats "the right way," I have pictures for each step to help you along the way. And keep scrolling through for the printable with measurements at the end!

If you've never heard the French culinary phrase "mise en place" now is a good time to start practicing it. This recipe goes quickly once the butter browns so you'll want everything out and ready to go!

STEP ONE: Melt the butter in a large heavy-bottomed stock pot (this is not the one I have but when my old one needs to be replaced it will be with this one!) like the one in the picture. You'll need plenty of room to incorporate the ingredients! The butter will go through a couple of stages while it's melting before it browns. The most noticeable is when it starts to foam. Stir the melting butter frequently and when you see it foam you know it's going to brown quickly. Don't stop stirring during this stage!

STEP TWO: Once your butter starts to brown, stir constantly until you have an end result like the picture above. Those little brown bits give the Rice Krispies a deeper flavor. When you have the butter at a nice warm-brown-color stage, remove the pan from the heat.

STEP THREE: Add in the marshmallows (reserving 2 cups for the end) and the salt. (I only use freshly ground pink Himalayan salt. You can use whichever salt you prefer but try it with the really good stuff! I think you'll be happy with the flavor that pink Himalayan salt gives the Rice Krispies.) Stir until it's melted all the way. It's going to be an ooey gooey sticky mess but just keep going!

STEP FOUR: Add in the crisp rice cereal (any brand is great!) and stir until it is coated with the melted marshmallows. Then add in the reserved mini marshmallows. This extra step at the end will keep the Rice Krispies from being too dense and they won't cut the roof of your mouth if you eat too many. (Let's get real - this is a possibility and you know what I'm talking about!)

STEP FIVE: Gently press the Rice Krispies into your desired dish. (This is my favorite dish because it can withstand tons of use!) I have used a large sheet pan and I have also used 2 8x8 pans. Just don't press it down too firmly. You don't want to bite into a densely packed Rice Krispie treat!

If you've made it this far don't forget to save the printable (or pin it to your dessert board on Pinterest!) I love how easily this recipe comes together when you need to make a dessert that everyone is bound to love. If you try this method for Salted Brown Butter Rice Krispie Treats let me know!


Comments